Registax V6
For Hα΄ line images
On Apr2 2011 has been released the new Registax Version "V6". If the users of the old V5 were really pleased with the results, the users of V6 are going to love it. This is a brand new powerfull tool for proccesing Solar images both in White Light and Hα΄ line. Here we are going to show you how we are proccesing the images of Hα΄ line and a small comparison with the V5 results on the same Avi files.
Registax V5 Versus Registax V6

23 April 2011 - Registax V5 Final Image
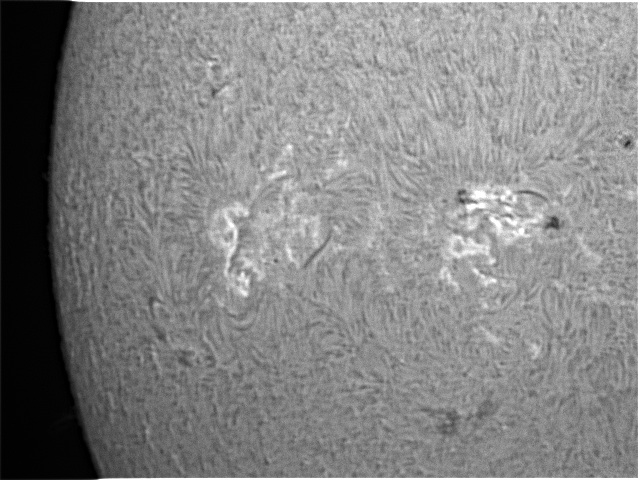
23 April 2011 - Registax V6 Final Image
Registax v6 - Step by Step
Setting the Alignment Sections.
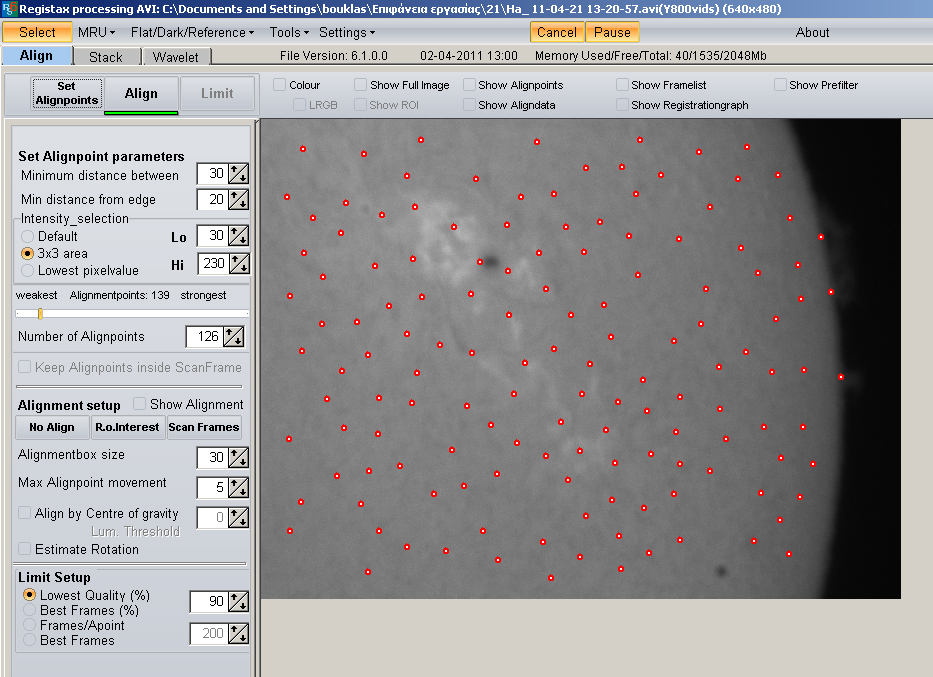
In this new Registax version there is a verry powerfull tool called "Set Alignpoints", by clicking on that button, the new registax calculates by itself the best alignment points and shows them on the image on your right hand screen with Red circles. In most cases this is the only thing you are going to need in order to proccess your images. In any casse you might thing that those are not good, you can add points by left clicking on your image with the mouse, or you can remove points by right clicking above the points you do not want.
One more important thing is to set on the panel with the "Alighn Parameters" the "3x3 area" function to be active.
One more important thing is to set on the panel with the "Alighn Parameters" the "3x3 area" function to be active.
Alignment.
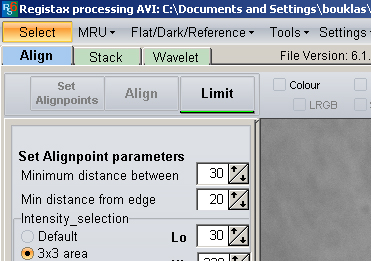
The "Align" procedure is the same in both versions of Registax, so the only thing you need to do, is to click on the Align button and then wait a few seconds untill it is over. Then you simply push the Limit Button and the software redirects you to the next panel of "Stacking".
Stacking.
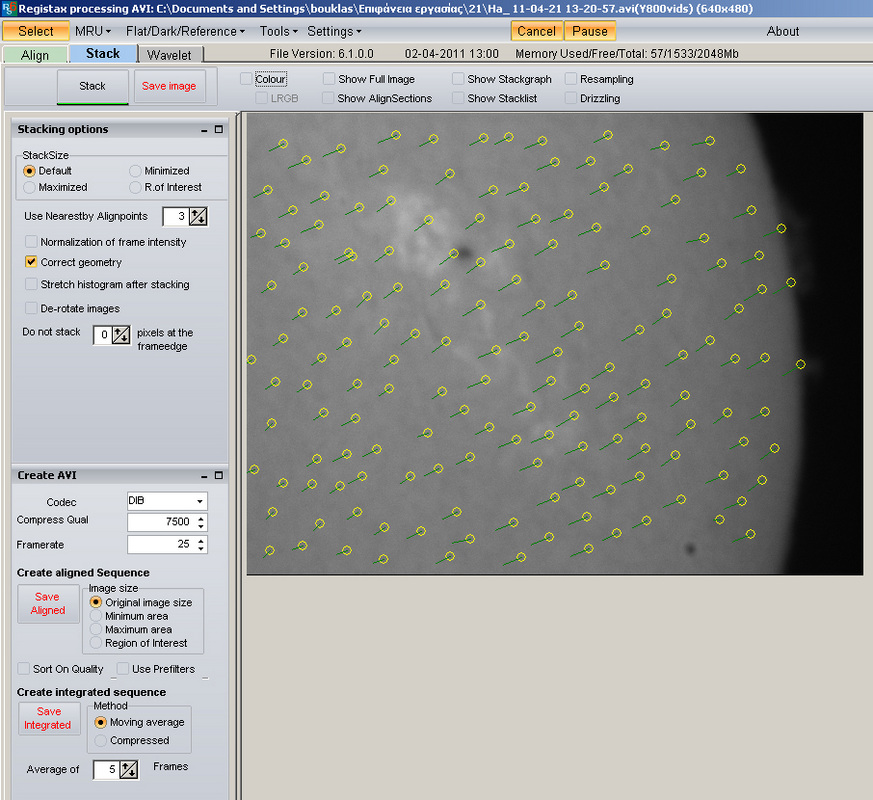
On the Stack panel now, things are more easy than ever. First you need to enable the "Corect Geometry" function and then you are free to hit the "STACK" button wich is right next to the "Save Image" button.
This is the only thing you need to do to get to the next level of your image, the "Wavelet" section.
This is the only thing you need to do to get to the next level of your image, the "Wavelet" section.
